ESP Home
Using an ESP32 to get data from the RS485 port on the Sunsynk inverter.
To do this you will need the following:
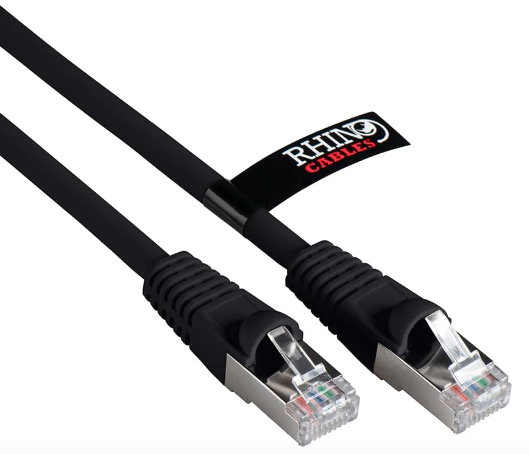
RJ45 Shielded Cable You don’t always need shielded cable but it is my preference especially as you are passing data along a cable running next to power cables that could cause interference.
Optional:
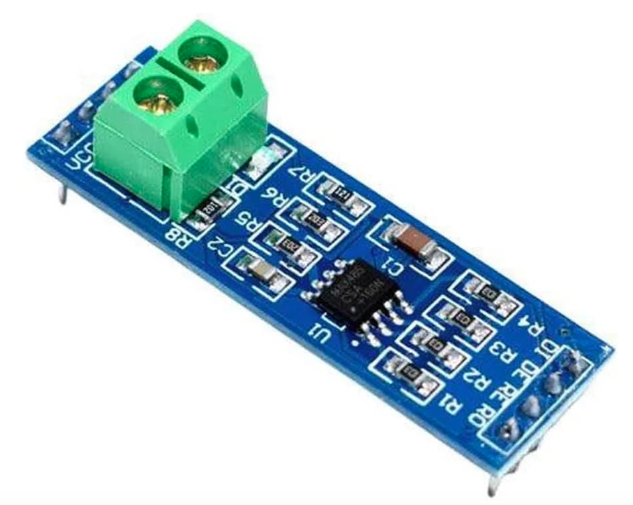
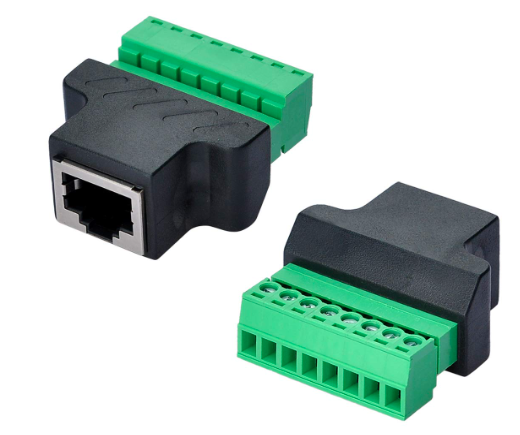
RJ45 Female To 8 Pin

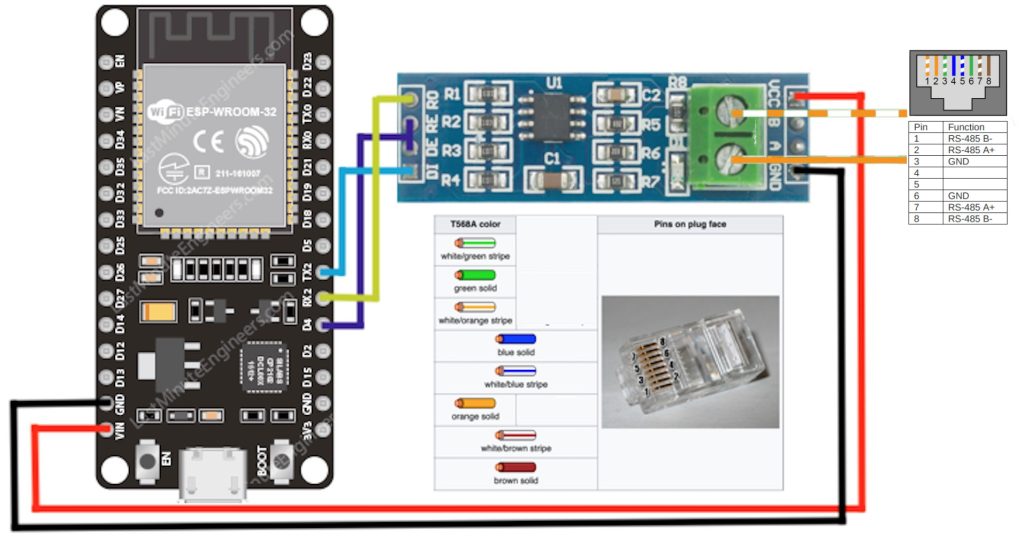
Connecting everything.
Connect the RJ45 cable to the RS485 port inside your inverter.
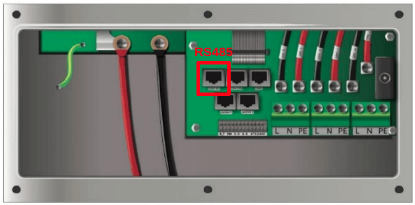
This could vary depending on the inverter model you have.
Newer models have a 2 in 1 CAM/RS485 port that will need splitting as shown below.
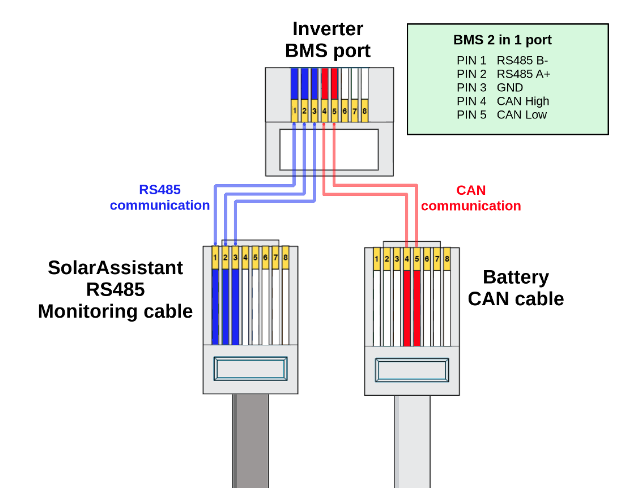
If you have a dedicated BSM RS485 port then this is the pin out
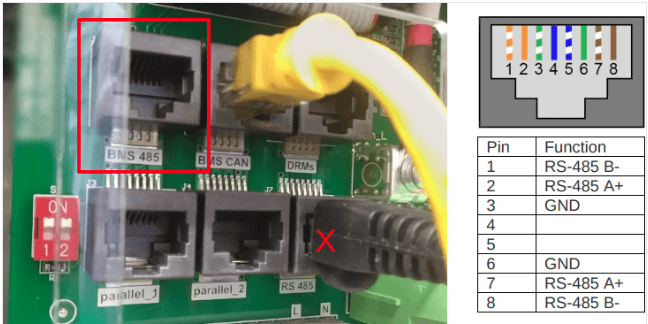
You need to connect the other end of the cable like this.
Installing ESP Home In Home Assistant OS
Click on Settings on the left panel then click on Addons
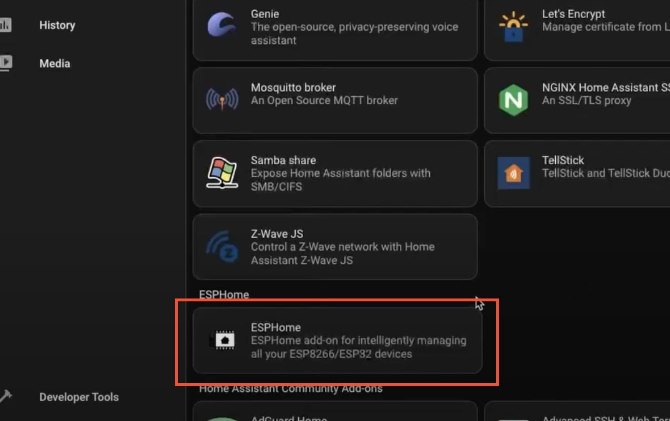
Then, click on the “Add-On Store” in the bottom right-hand corner
Select ESPHome
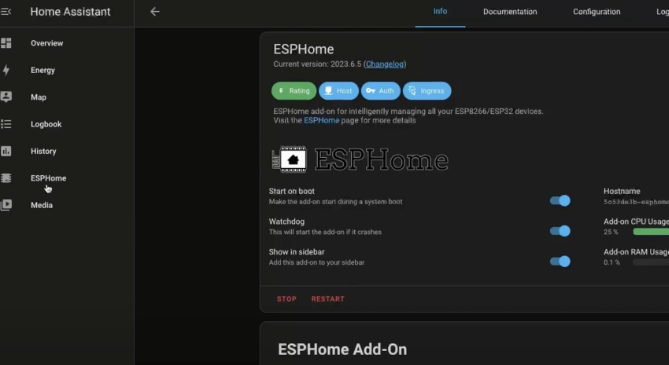
Click on Install and then “Show in sidebar”
Installing Configuration to ESP32 with ESP Home
We will be adding a Wifi signal strength sensor and HTTP server to the ESP32 device.
In ESP Home, click on “New Device”, then provide a name for your device.
If you are doing it for the first time, it will ask you for your wifi credentials.
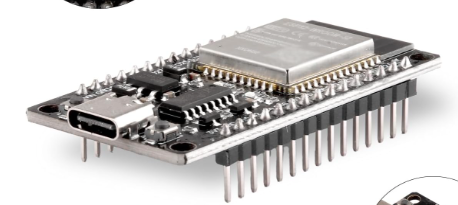
Then select ESP32 or ESP8266 depending on your board.
Next, We need to edit the configuration file.
Add the following to the end of the file.
sensor:
  - platform: wifi_signal
    name: "WiFi Signal Sensor"
    update_interval: 1s

web_server:
  port: 80
Your file would look something like this.
Once you are done, click on save and then click on the install option.
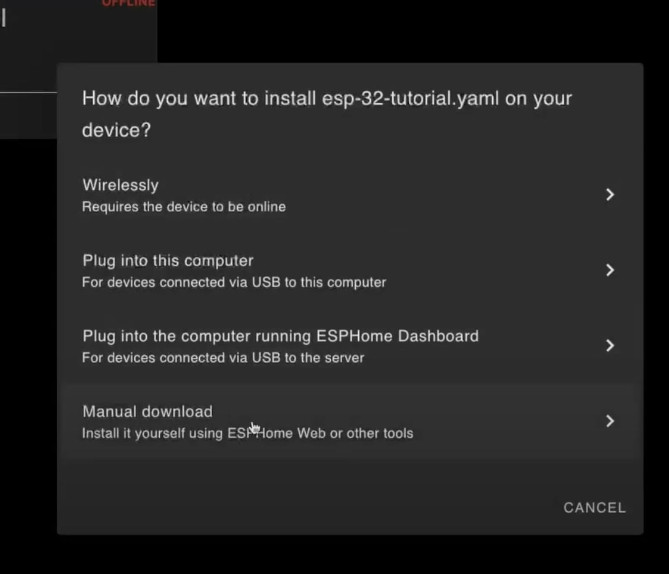
Now, select “Manual Download” then click on “Modern Format” and wait for it to start compiling.
Once it’s completed, the generated file will be downloaded or you can click on the download button.
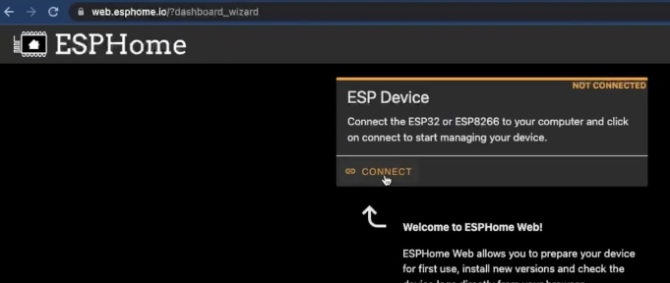
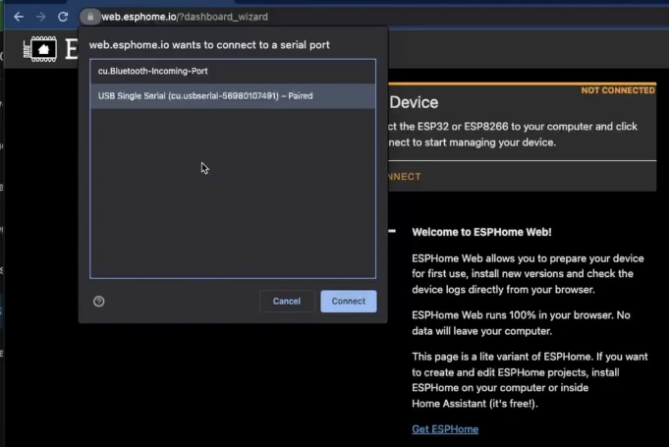
Now, go to https://web.esphome.io , connect your ESP32 to the USB port, and click on connect
Once presented with a window, select the “USB Single Serial”
Next, click on the “Install” Option and select the file which we just downloaded previously, and then click Install.

Finally when you see connecting progress, press and hold the “Boot” button on your ESP32 until you see the Installing progress bar.
Once finished, unplug the device and connect it again and wait for 1–2 mins for it to connect to your Wifi Network.
You will now have to search the IP address of the device in your router or use some network tool.
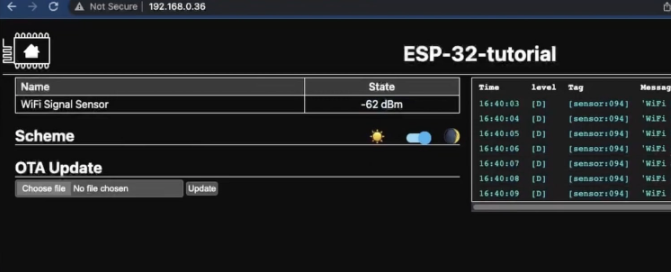
Once you figured out the IP address of the device simply paste the IP in the browser and you will see the ESP32 device webpage from the HTTP Server we added.
Connecting ESP32 with Home Assistant
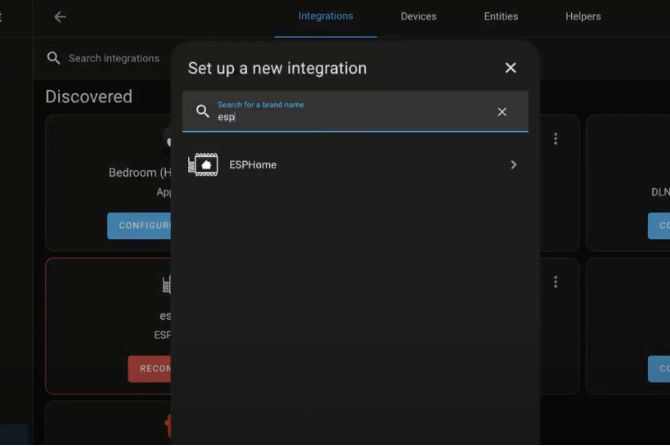
Navigate to settings in Home Assistant, then click on devices, then click on “Add integration” in the bottom right corner
Then search for ESPHome
Now specify the IP address and keep the port as 6053 and then click submit. No need to change the port.
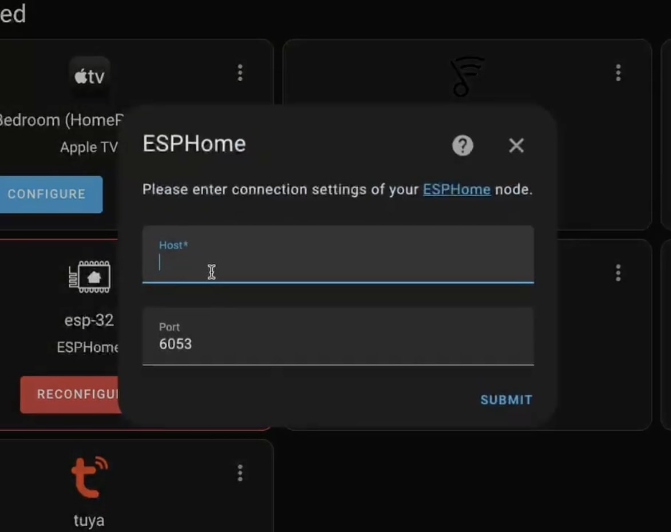
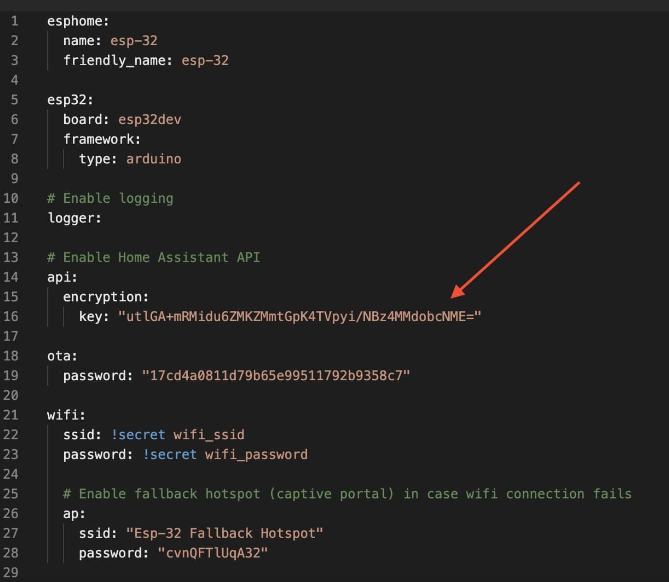
Now, if it asks you for an encryption key, then you will find this in the configuration file in the ESPHome.
With this, you are done.
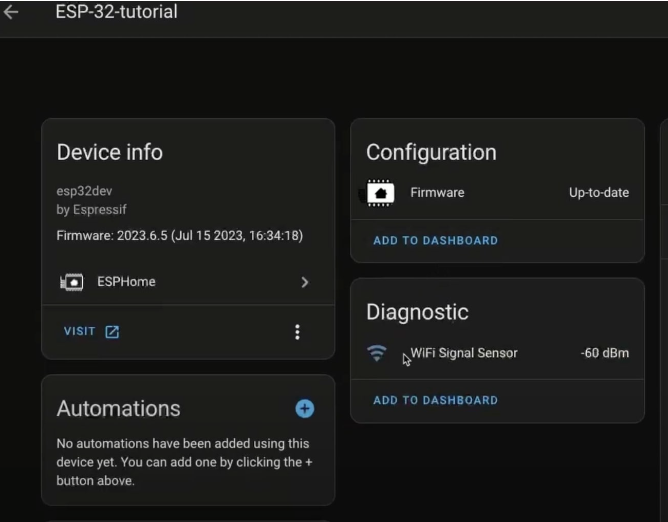
In the ESPHome click on the devices
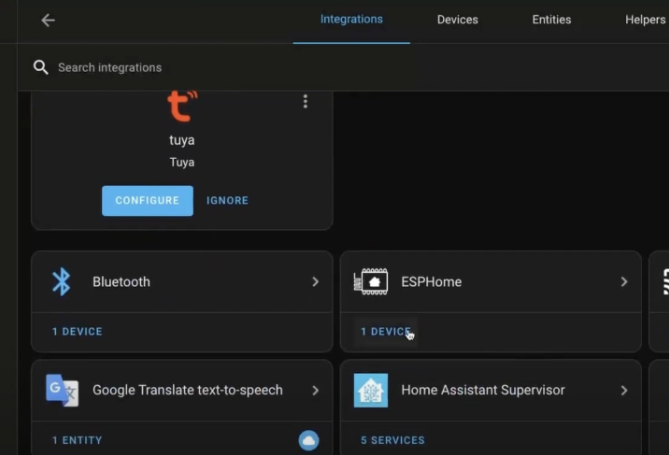
Here you will be able to see the ESP32 device.